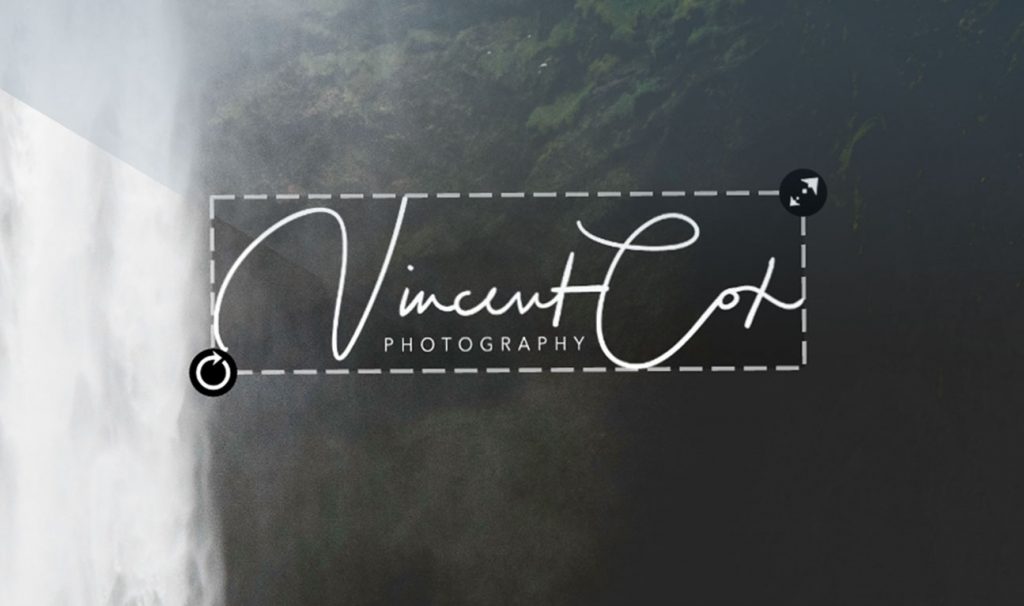
هل استلمت شعارك الجديد وتتطلع بشوق لبدء توقيع صورك؟ لكن وضع العلامة المائية معقد ويستغرق وقتًا طويلاً؟ تلميع الصور هي الأداة المثالية لمساعدتك على تبسيط عمليتك و إنجاز المزيد في وقت أقل بكثير.
في هذا البرنامج التعليمي السريع، سأعرض لك أسهل طريقة لتطبيق شعارك على صورك الرقمية باستخدام تلميع الصورفي بضع خطوات سريعة، سوف تتعلم أسرع طريقة لحماية صورك من الاستخدام غير المصرح به والبدء في بناء علامتك التجارية الشخصية.

خطوة بخطوة
١) أولاً، ثبّت برنامج Photopolish وشغّله. بعد ذلك، استورد ما يصل إلى ٥٠ صورة ترغب في إضافتها إلى مساحة العمل. يستورد يقع الزر في الزاوية اليسرى السفلية. يدعم برنامج Photopolish تنسيقي JPEG وPNG، وستتوفر صيغ أخرى في الإصدارات المستقبلية.
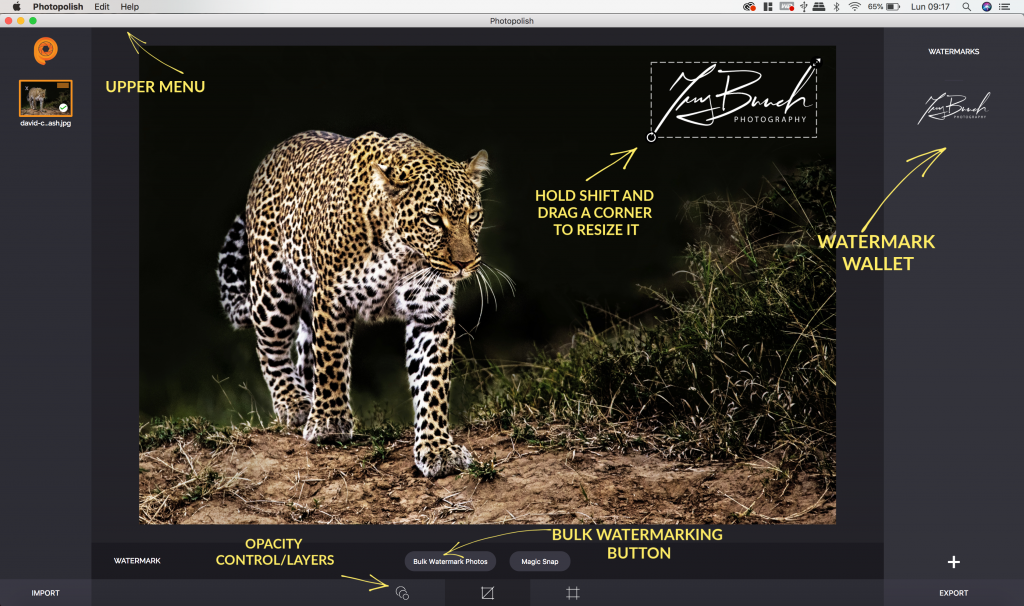
فيما يلي دليل سريع للأدوات التي ستحتاجها:

2) الآن حان الوقت لإضافة توقيعاتك وشعاراتك إلى محفظة العلامة المائية. فقط اضغط على "+انقر على زر "" الموجود في أسفل يمين الشاشة. افتح المجلد الذي حفظت فيه شعارك على جهاز الكمبيوتر، ثم استورد ملفات التوقيع. أنصحك بتخزين نسختي شعارك الأبيض والأسود في محفظة العلامات المائية لتتمكن من إضافة علامات مائية أسرع.
بالنسبة للصور الداكنة أو المشبعة بالألوان، نقترح استخدام Photologo باللون الأبيض.
بالنسبة للصور ذات الألوان الفاتحة أو الخلفية الساطعة، اختر النسخة السوداء من شعارك.
الخبر السار هو أن شعارك المخصص مصمم ليناسب مجموعة واسعة من الحالات، وبالتالي فإن الملف الذي تلقيته من الاستوديو الخاص بنا يحتوي على إصدارات متعددة مختلفة للاختيار من بينها.
ولكي نكون أكثر تحديدًا، يتم تسليم كل Photologo بالتنسيقات والأنواع التالية:
- الإصدارات بالأبيض والأسود
- دقة عالية ومنخفضة (لكلا اللونين)
- بصيغة ملف PNG
- ذات خلفية شفافة وجاهزة للتطبيق
3) إذا كنت ترغب في توقيع صورة واحدة فقط، فحدد الصورة من العمود على يسار الشاشة. ثم انقر على العلامة المائية المفضلة لديك في العمود الأيمن، وستُضاف فورًا إلى صورتك.
بمجرد تطبيق Photologo الخاص بك على الصورة، انقر عليها للدخول وضع التحريريمكنك سحبه وتدويره وتغيير حجمه باستخدام المقابض الموجودة على زوايا المربع المحدد.
في القائمة السفلية، ستجد أداة التعتيم حيث يمكنك تعديل رؤية شعارك حسب رغبتك.
٤) إذا كان لديك عدد كبير من الصور للتوقيع، فسيوفر عليك برنامج Photopolish ساعاتٍ من العمل والجهد المبذول في إضافة العلامات المائية يدويًا باستخدام أدوات أخرى. لماذا؟ يتميز بـ وضع العلامات المائية بكميات كبيرة وظيفة (توجد في القائمة السفلية) تقوم تلقائيًا بإضافة علامة مائية إلى جميع صورك مرة واحدة حتى تتمكن من تسريع سير عملك.
كيفية الاستخدام: ببساطة، طبّق شعارك على الصورة الأولى من المجموعة وعدّله. عند الانتهاء من التعديل، انقر على وضع العلامات المائية بكميات كبيرة الزر و تادا!تم وضع علامة مائية على جميع الصور المستوردة بنفس الإعدادات والموضع تمامًا مثل الصورة الأولى.
ها قد انتهيت! أعمالك الفنية موقعة وجاهزة للتصدير بصيغتي JPG أو PNG. والخبر السار هو أن التصدير بالجملة أسهل حتى من إضافة العلامة المائية بالجملة. ما عليك سوى الانتقال إلى الزاوية العلوية اليسرى، في القائمة العلوية الرئيسية، والنقر على فوتوبولش>تصدير الصور ذات العلامة المائية. منتهي!
صورك الآن جاهزة للنشر!


